Spring Boot is an extension of the Spring Framework for building web applications in Java. It makes it easier to create Java-based web applications by simplifying the setup and configuration process and it provides RAD (rapid application development) and helps in creating efficient, fast standalone applications that you can basically run Just think of it as a toolbox that provides everything you need to quickly start building a web application without having to spend a lot of time setting up the basic structure, so if you’re ready to get your Spring Boot IntelliJ setup, you have three organized approaches to choose from, and I hope you have installed IntelliJ:
Using the “Import Project” Wizard:
- Go to Spring Initializr select language (Java) and Spring Boot Version, and enter project metadata information. Select packaging and Java Version, add the required dependencies, and then click on generate.
- Open IntelliJ IDEA.
- Click on “File” > “New” > “Project from Existing Sources…”.
- Navigate to the directory where your Spring Boot project is located and select its root directory.
- Click “OK” to open the Import Project Wizard.
- Choose “Maven” or “Gradle” depending on your project setup.
- Follow the prompts to configure project settings and dependencies.
- Click “Finish” to import the project.
Using the Maven or Gradle Tool Window:
- Open IntelliJ IDEA.
- Click on “View” > “Tool Windows” > “Maven” or “Gradle” (depending on your project).
- In the Maven or Gradle tool window, click on the “+” icon to import a project.
- Navigate to the directory where your Spring Boot project is located and select its root directory.
- IntelliJ IDEA will automatically detect the project and import it.
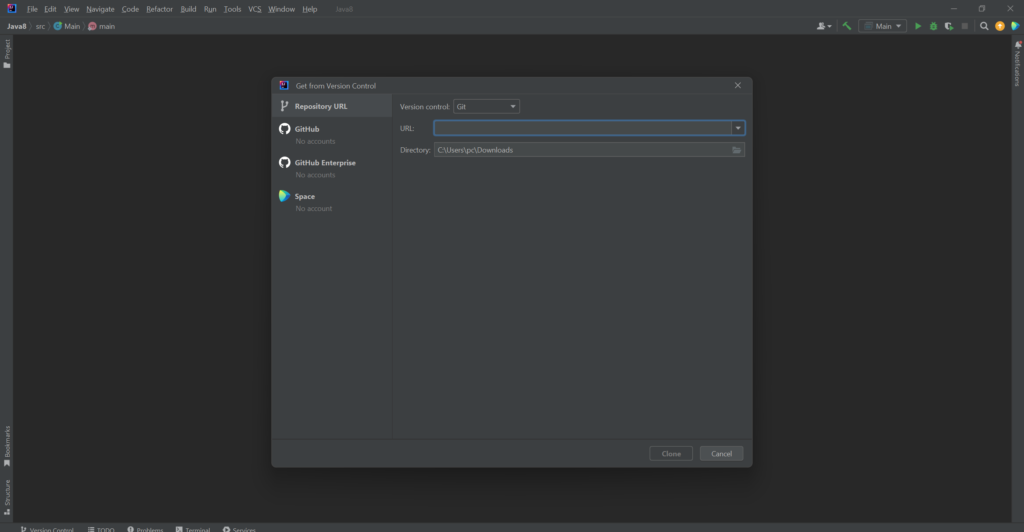
Importing from Version Control:
- If your Spring Boot project is hosted on a version control system like Git or SVN, you can import it directly from there.
- Open IntelliJ IDEA.
- Click on “File” > “New” > “Project from Version Control…” (e.g., Git).
- Provide the repository URL and other necessary information.
- Follow the prompts to clone the repository.
- IntelliJ IDEA will detect the project as a Maven or Gradle project and configure it accordingly.
If you have any doubts regarding the Spring Boot IntelliJ setup, please contact us.

