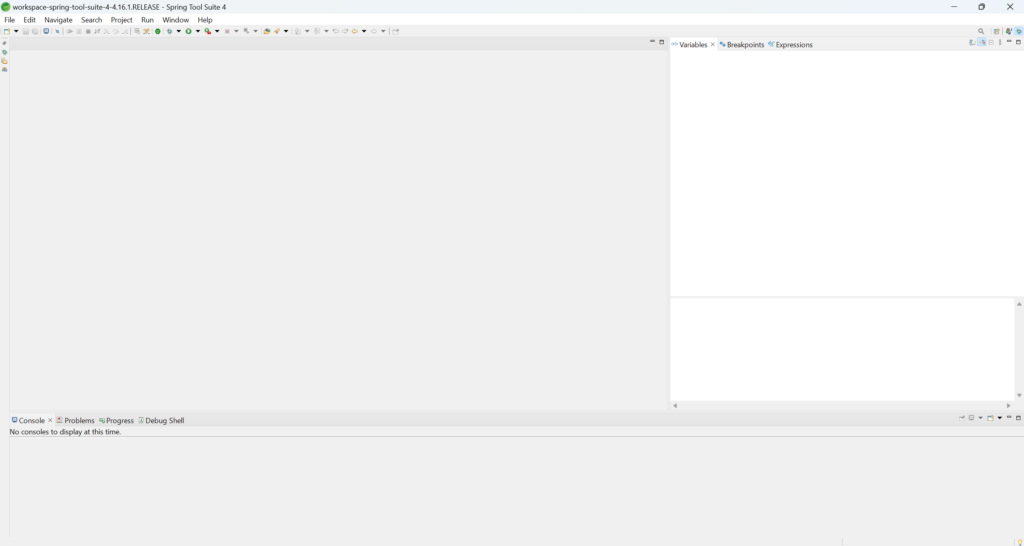
Spring Tool Suite is an IDE for developing Spring applications. It’s based on Eclipse and offers a pre-configured environment for coding, testing, deploying, and debugging Spring applications. This article explores four methods for import Spring Boot applications into Spring Tool Suite (STS).

Download the Spring Tool Suite:
To download and install Spring Tool Suite (STS), you can follow these steps:
- Go to the official website of the Spring Tool Suite at https://spring.io/tools.
- Click on the “Download” button, which will usually be prominently displayed on the website. This will take you to the download page.
- On the download page, you will typically find different download options based on your operating system. Select the appropriate installer for your operating system (Windows, macOS or Linux).
- Click on the download link for the installer file. This will start the download process. Depending on your internet speed, it may take a few moments to complete.
- Once the installer file is downloaded, navigate to the location where it was saved and double-click on it to run the installer.
- The installation wizard will guide you through the installation process. Follow the on-screen instructions to proceed with the installation.
- During the installation process, you may be prompted to choose the installation location for STS. You can either accept the default location or choose a different directory.
- After selecting the installation location, continue following the prompts to complete the installation process. The installer will copy the necessary files and configure STS on your system.
- Once the installation is complete, you can launch the Spring Tool Suite. Look for the STS icon in your applications menu or desktop (if you chose to create a shortcut during installation) and double-click on it to open the IDE.
- Upon launching STS for the first time, you may be prompted to configure workspace settings. You can choose the default workspace location or specify a custom location.
Once your STS is ready, you want to import your projects into the spring tool suite
To import your Spring Boot application into Spring Tool Suite (STS), you can follow these four methods:
Import as a Maven Project:
- Open STS and go to
File>Import. - Choose
Existing Maven Projectsfrom the list of import options and clickNext. - Browse to the directory where your Spring Boot project is located and select the root directory.
- STS will automatically detect the
pom.xmlfile and import the project as a Maven project.
Import as a Gradle Project:
- If your Spring Boot project uses Gradle, you can import it similarly to a Maven project.
- Go to
File>Import. - Choose
Existing Gradle Projectand clickNext. - Browse to the directory containing your Spring Boot project and select the root directory.
- STS will recognize the Gradle build file (
build.gradle) and import the project.
Clone Git Repository:
- Go to
File>Import. - Choose
Git>Projects from Gitand clickNext. - Select
Clone URIand clickNext. - Enter the URI of your Git repository and follow the wizard to clone the repository into STS.
Import an Existing Project:
- If you already have your Spring Boot project set up and just want to import it into STS, you can use this method.
- Go to
File>Import. - Choose
General>Existing Projects into Workspaceand clickNext. - Browse to the directory containing your Spring Boot project and select it.
- STS will recognize the project and import it into the workspace.
If you have any doubts regarding the import Spring Boot application into Spring Tool Suite, please contact us.


