Introduction
Angular is a popular framework for building dynamic and interactive web applications. Creating an Angular app is made easy with the help of Angular CLI (Command Line Interface). In this comprehensive guide, we’ll walk through everything you need to know to kickstart your Create Angular App with Angular CLI setup guide journey with npm, npx, and yarn.
What is Angular CLI?
Angular CLI is a command-line interface tool that helps Frontend developers quickly setup a new Angular application. It provides a pre-configured environment with all necessary tools pre-installed, including TypeScript for building Angular applications, Webpack for bundling your code, and ESLint for catching errors early on. With Angular CLI, you can focus on writing code and building features instead of focusing on configuration and basic setup.
Getting Started with Angular CLI: Create your first project
You can create Angular app in three different ways:
Method #1: Using npm
- Ensure you have Node.js and npm installed on your system. If you don’t have, download them from the official Node.js website https://nodejs.org/en.
- Open your terminal or command prompt and navigate to the directory where you want to create the project. (Note: If you are not sure about Node.js, run command in terminal or command prompt –
node -v) - Run the following command, replacing
my-appwith your designed project name:
npm init @angular/app my-appMethod #2: Using npx (Recommended for Beginners)
npx comes bundled with npm versions 5.2 and above, so you don’t need to install any additional tools.
- Open your terminal and navigate to the directory where you want to create the project.
- Run the following command, replacing
my-appwith your designed project name
npx @angular/cli new my-appMethod #3: Using yarn
- Ensure you have Yarn as a package manager installed on your system. If you don’t have, download them from the official Yarn website https://classic.yarnpkg.com/lang/en/docs/install/
- Open your terminal or command prompt and navigate to the directory where you want to create the project.
- Run the following command, replacing
my-appwith your designed project name:
yarn create @angular/app my-appExploring the Project Structure
Once your project is set up, take a moment to familiarize yourself with the project structure:
npm and Yarn
my-app/
├── node_modules/
├── src/
│   ├── app/
│   │   ├── app.component.ts
│   │   ├── app.component.html
│   │   ├── app.component.css
│   │   └── ...
│   ├── assets/
│   │   └── ...
│   ├── environments/
│   │   ├── environment.ts
│   │   ├── environment.prod.ts
│   │   └── ...
│   ├── index.html
│   ├── styles.css
│   └── ...
├── angular.json
├── package.json
└── ...
npx
my-app/
├── node_modules/
├── src/
│   ├── app/
│   │   ├── app.component.ts
│   │   ├── app.component.html
│   │   ├── app.component.css
│   │   └── ...
│   ├── assets/
│   │   └── ...
│   ├── environments/
│   │   ├── environment.ts
│   │   ├── environment.prod.ts
│   │   └── ...
│   ├── index.html
│   ├── styles.css
│   └── ...
├── angular.json
└── ...angular.json: This file holds configuration settings for Angular projects.src/: All of your Angular components and JavaScript files will live here.package.json: This file holds metadata about your project and dependencies.node_modules/: This directory contains all the project’s dependencies.
Running Your Angular CLI App
Now that your project is set up. Navigate to your project directory and run the following command:
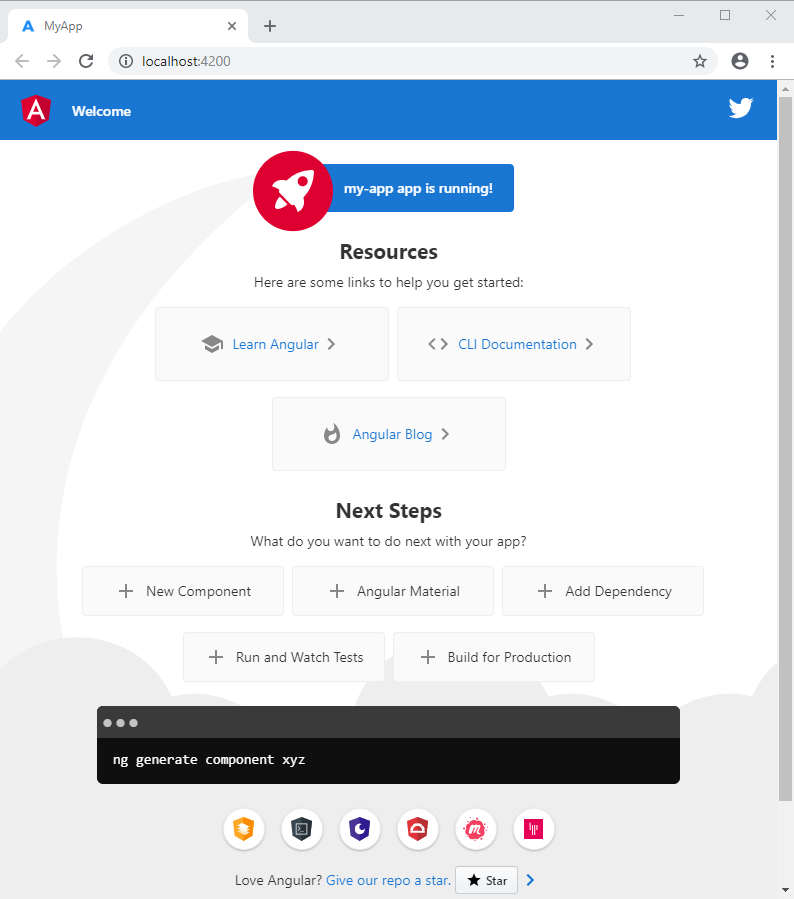
ng serveThis command starts the development server, which typically runs on http://localhost:4200 by default.
Exploring the src Folder: Building your app
The src folder is where the real development happens. It has all the essential components that set up your Angular application. Let’s delve into some key elements within this folder:
Components:
Angular applications are built upon reusable components. Each component is a self-contained unit responsible for rendering a specific part of the UI. You can create multiple components to represent different sections of your app like the header and login form.
For example, let’s create an AppComponent:
// app.component.ts
import { Component } from '@angular/core';

@Component({
  selector: 'app-root',
  templateUrl: './app.component.html',
  styleUrls: ['./app.component.css']
})
export class AppComponent {
  title = 'my-app';
}
Styles:
You can style your Angular components using CSS, Sass, or any other CSS-in-JS solution. It provides you with the options to choose your preferred styling.
For example, you can create a styles.css file and import it into your components:
/* styles.css */
body {
  font-family: Arial, sans-serif;
}
app.component.html:
This file serves as the entry point for your application. It typically renders the main component that defines the overall structure of your app.
<!-- app.component.html -->
<h1>Welcome to {{ title }}!</h1>
Useful Dependencies to Create Angular App with Angular CLI:
When setting up an Angular app, you’ll need to install essential dependencies to build and run your application effectively.
- Angular CLI: The command-line interface tool for Angular development.
- Angular Core: The core library for building Angular applications.
- TypeScript: A superset of JavaScript that adds types to the language.
- RxJS: A library for reactive programming using Observables.
If using npm (Node Package Manager):
npm install @angular/cli @angular/core typescript rxjs --save-devIf using yarn:
yarn add @angular/cli @angular/core typescript rxjs --devConclusion
Congratulations! You’ve successfully set up your first Angular project using Angular CLI. From here, the sky’s the limit. Experiment with different components, explore Angular libraries, and start building amazing web applications. Happy coding!
Remember: The Angular ecosystem is vast and constantly evolving. Stay curious, explore the official Angular documentation, experiment with different libraries and tools, and actively engage with the vibrant Angular community. With dedication and practice, you’ll be building amazing Angular applications in no time!
Stay tuned every Tuesday for fresh insights into frontend topics, because keeping up with the latest in web development has never been more exciting!

